Table of Contents Show
Unity provides a package for creating XR apps. The XR Interaction Toolkit makes it very easy to implement common interaction techniques for virtual reality. For example, moving through space or grabbing objects in 3D.
There are also interactions for augmented reality, but in this tutorial, I’ll focus on VR only.
Sample project
In the following tutorial, I set up a very simple VR project. It contains locomotion and grabbing objects.
Create Unity project
Create a new 3D (URP) project. The built-in render pipeline is not recommended, because there might be issues with materials from the samples.
I used Unity version 2022.3.6f1 for this tutorial. But the setup should work very similarly for other Unity versions as well.
Add packages
Open the package manager and install the following packages:
- XR Plugin Management
- XR Interaction Toolkit
Probably you get the following warning, that the new input system is not set up yet. It’s still possible to use the interaction toolkit with the old input system. But I recommend the new input system and thus continue with it in this tutorial.
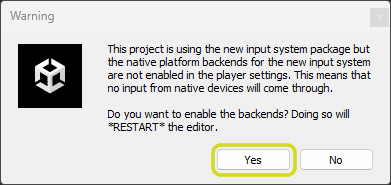
Click Yes in the warning dialog. This will add the new input system to the project and reopen Unity. If you don’t need the old input system at all, you can disable it in the player settings.
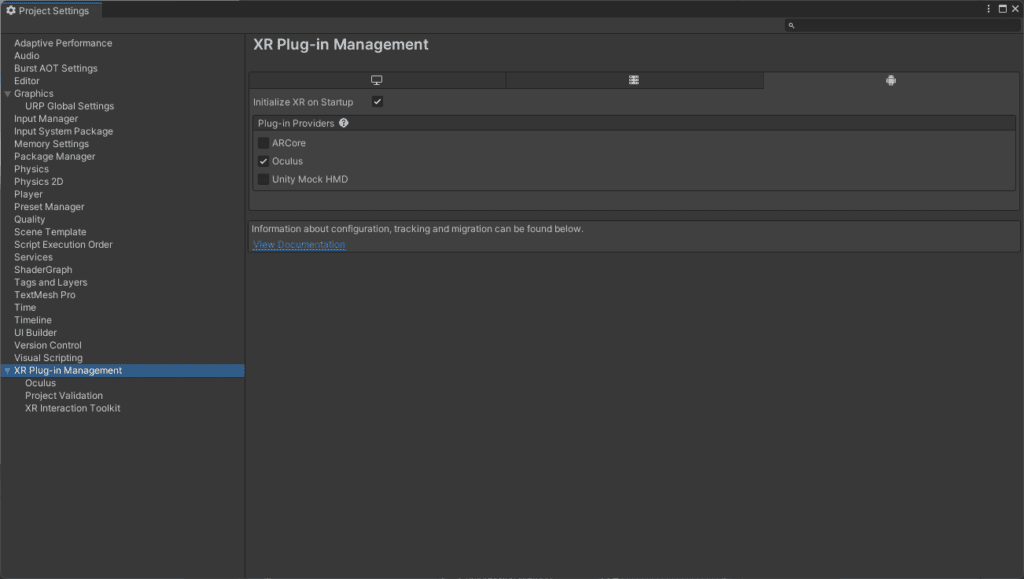
Enable the plugin for your VR device in project settings/XR Plug-in Management. Probably you have to change some other settings such as graphics API or minimum Android version. These values depend on your VR device.
Add starter assets
Usually, I try to set up projects from scratch to only include necessary components. However, setting up a typical XR rig requires quite a large number of components. The bindings for the new input system are especially tedious to set manually.
Therefore, I start with the sample provided by the toolkit.
Open the package manager and select the XR Interaction Toolkit. Open the Samples tab and import the Starter Assets.

Please be aware that any changes inside the sample will be overwritten if you reimport the sample again. Therefore I recommend creating prefab variants instead of directly editing prefabs.
Create VR scene
The project settings are ready. Now we can proceed to the content of the VR application.
- Create a new scene or use the existing sample scene.
- Delete the main camera.
- Locate the prefab Starter Assets > Prefabs > XR Interaction Setup and add it to the scene.
A this point, you can already test your app to see if everything has been set up correctly. Add some sample content and run the project on your VR device. You should be able to look around in the scene and navigate with the thumbsticks.
Enable teleportation
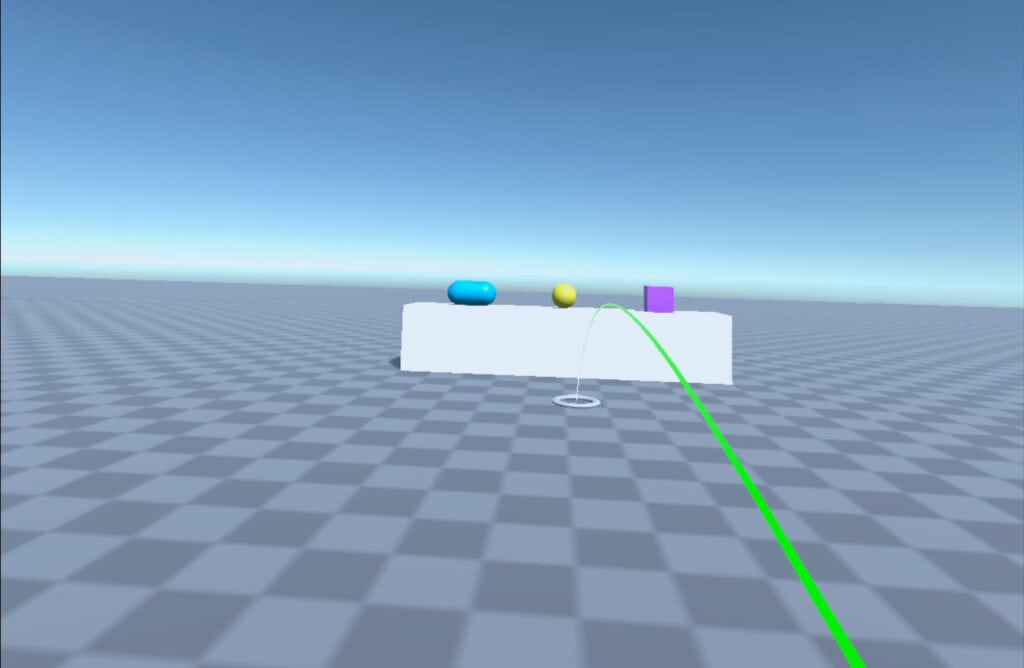
You may have noticed that the right controller uses discrete steps for turning left and right. When you press the thumbstick in the north direction, a red ray for teleportation appears. But nothing happens when you release the thumbstick.
To make it work, you have to add a teleportation area.
- Add a new plane to the scene and optionally scale it up.
- Add a new component Teleportation Area.
- Open the dropdown “Interaction Layer Mask” and click on “Add Layer …”. Name layer 31 “Teleport”.
- Go back to the Teleportation Area and make sure the Interaction Layer Mask is set only to the Teleport layer.
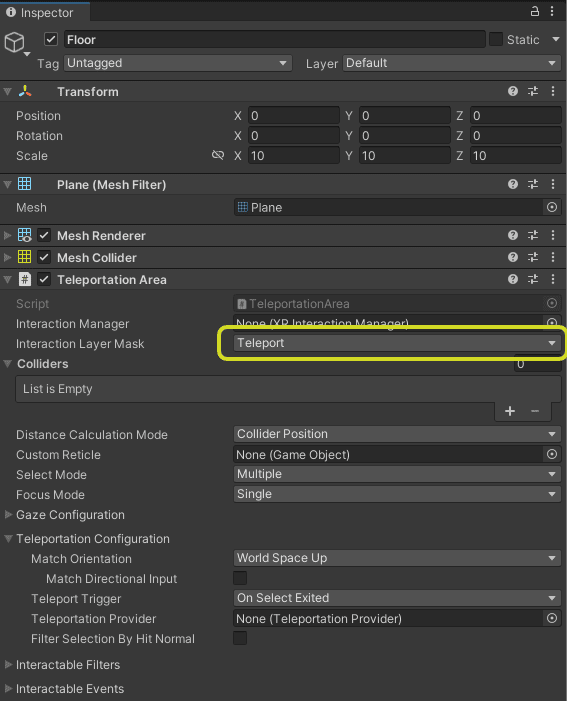
The interaction layer is necessary to distinguish teleportation from grab interactions. Layer 31 as Teleport layer is a configuration from the sample. If you build a project from scratch, you can use different layers.
Disable continuous movements
The left controller provides continuous movements when you press the thumbstick. I prefer to have just one way of locomotion. Therefore I want to use the same settings for the left and right controller.
- Select the Left Controller in the hierarchy. Uncheck the setting “Smooth Motion Enabled”.
- Deactivate the game object Locomotion System > Move.
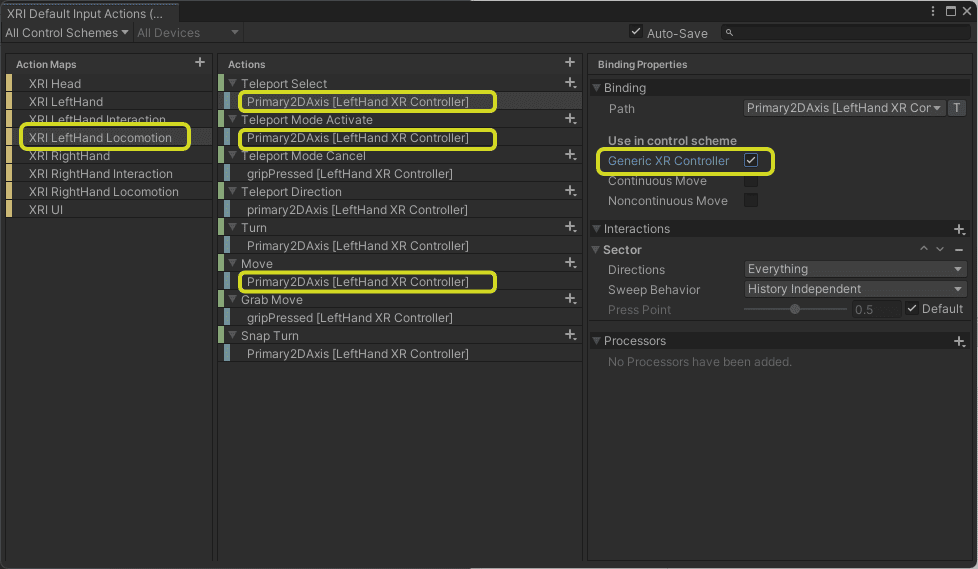
- Open the XRI Default Input Actions and enable “Generic XR Controller” instead of “Noncontinuous Move” in the following bindings:
- Teleport Select
- Teleport Mode Activate
- Turn
Grab objects
Selecting and grabbing virtual objects is essential to most VR apps. The sample controllers are already configured for it. Only the objects have to be made interactive.
- Select objects that should be grabbed. Add a collider if they don’t have one already.
- Add a new component XR Grab Interactable.
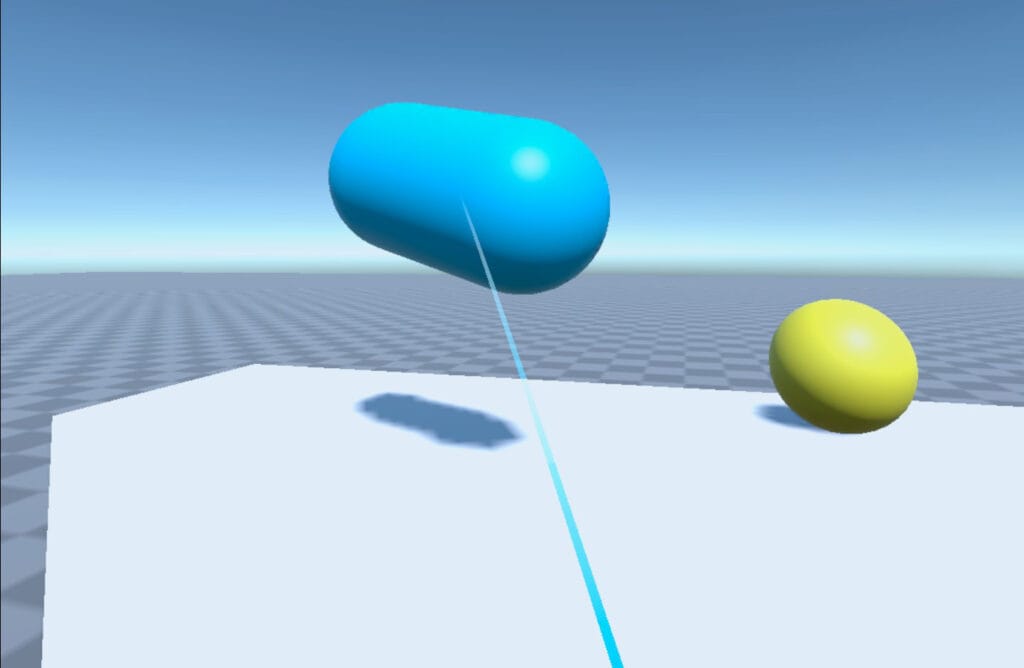
That’s basically it. You can grab objects with the grip button and move them around. This is possible with a ray interactor from the distance or with the direct interactor when your controller is intersecting the object.
In most use cases a specific transformation can be applied to the grabbed object. For example, a coffee mug will always be grabbed by its handle. For the primitive objects in this sample, I prefer to keep the original transform. This is achieved by enabling “Use Dynamic Attach” in the inspector.
Project template
Would you like to test the final project instead of following the tutorial?
You can download the project from my Github page.
Understanding the components
In order to adapt the interactions in the project, it’s necessary to understand some basics of the toolkit.
Core architecture
A project with the interaction toolkit is mainly controlled by interactors and interactables:
- Interactors can select or move objects in the scene. An interactor defines, how an object is selected, e.g. with a raycast or by touching it.
Most of the interactors are connected to a controller, which provides input actions. - Interactables are objects in a scene, which can be edited or selected by an interactor. An interactable defines what happens when it is selected by an interactor. This can be selection, grab, teleportation, etc.
- Controllers are abstractions of tracked input devices. These can be XR controllers, tracked hands, or the headset itself. Multiple controllers can be attached to the same physical devices.
It’s possible that multiple interactors are bound to the same controller. Or that an interactor has its own controller (e.g. the TeleportInteractor in the sample).
Important interactors
- Ray interactors send raycasts into the scene. If the raycast hits an interactable, it’s used for interaction. The ray can be a straight line or a curve. There are two different ray interactors in the sample: one for teleportation and one for grabbing objects.
- Direct interactors select interactables when they intersect or are very close.
- Poke interactors are special interactors for using UI elements with hand gestures.
- Socket interactors are needed when objects are used as tools to interact with other objects. For example, you grab a tennis racket and play a ball with it.
- A gaze interactor is attached to the headset and uses information from eye tracking. If eye tracking is unavailable, it uses the headset orientation as a fallback.
Important interactables
The most important interactable is the GrabInteractable. As you have seen, it can be selected and moved to a new position in space.
For teleportation, there are two different types of interactables:
- The TeleportationArea represents a large area.
- The TeleportationAnchor represents a single point where the user can move to.
Additional features
The XR Interaction Toolkit provides a lot more features. There are interactions for hands and gaze with eye tracking, support for UI, and rather specialized interactions such as climbing or using tools.
The samples in the package provide a good overview of the possibilities.
Recommended usage
Cross-platform development is the main benefit of the XR Interaction Toolkit. It supports Meta Quest, Windows Mixed Reality, and other devices. Changing from one device to another does not require changes of the scene objects.
The architecture is very high level. You can apply common VR concepts to your project, without knowing much about the underlying hardware. In the beginning, there is a lot of clicking and adding items. But in the long run, the interactor/interactable paradigm is very easy to understand.
The XR Interaction Toolkit is not the best tool if you want to use the latest features of a specific headset. These are often only supported by the framework from the headset vendor.

